
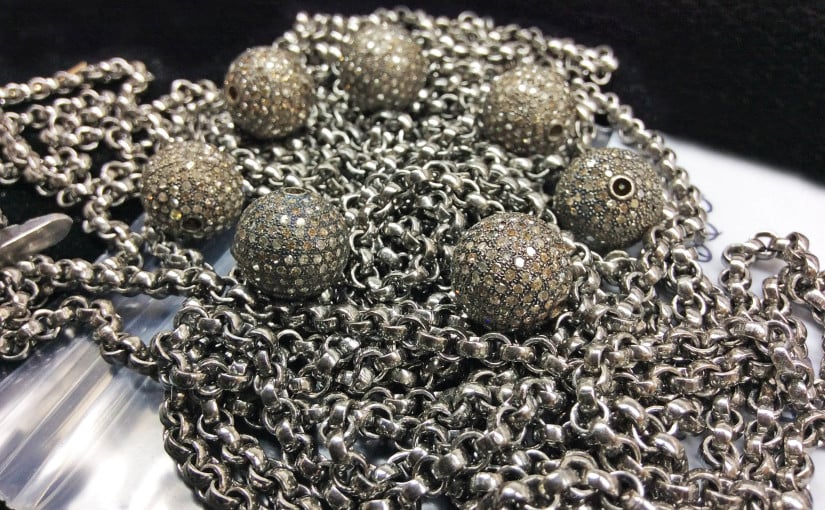
Do you love the way Oxidized Silver looks, but have a hard time doing it yourself? No worries! This tutorial will show you a few great tips that will make Oxidizing Silver much easier and look way better using common household items you probably have laying around the house already! More importantly, we are going to show you how to do everything safely because the oxidation process requires some potentially dangerous chemicals.
Required Materials:
- Safety First: You need to work in a well ventilated space with a sink, safety goggles, gloves and a mask. It’s also a good idea to have baking powder handy in the case of a spill to neutralize acid.

Some Common Household Items that will make Oxidizing Sterling Silver quick, easy, and safe! Wear proper protective gear like Safety Goggles, Gloves, and a Mask at all times when working with hazardous chemicals. - Sterling Silver: Any Sterling Silver material including beads, chains, and other findings will work as long as the metal is not plated or treated. Plating and anti-tarnish treatments will make it difficult for the oxidizing agent to react with the metal, and will probably cause uneven color.
- Oxidizing Agent: We will be using an acidic sulfur solution called Silver Black, but there are many on the market which will work just as well.
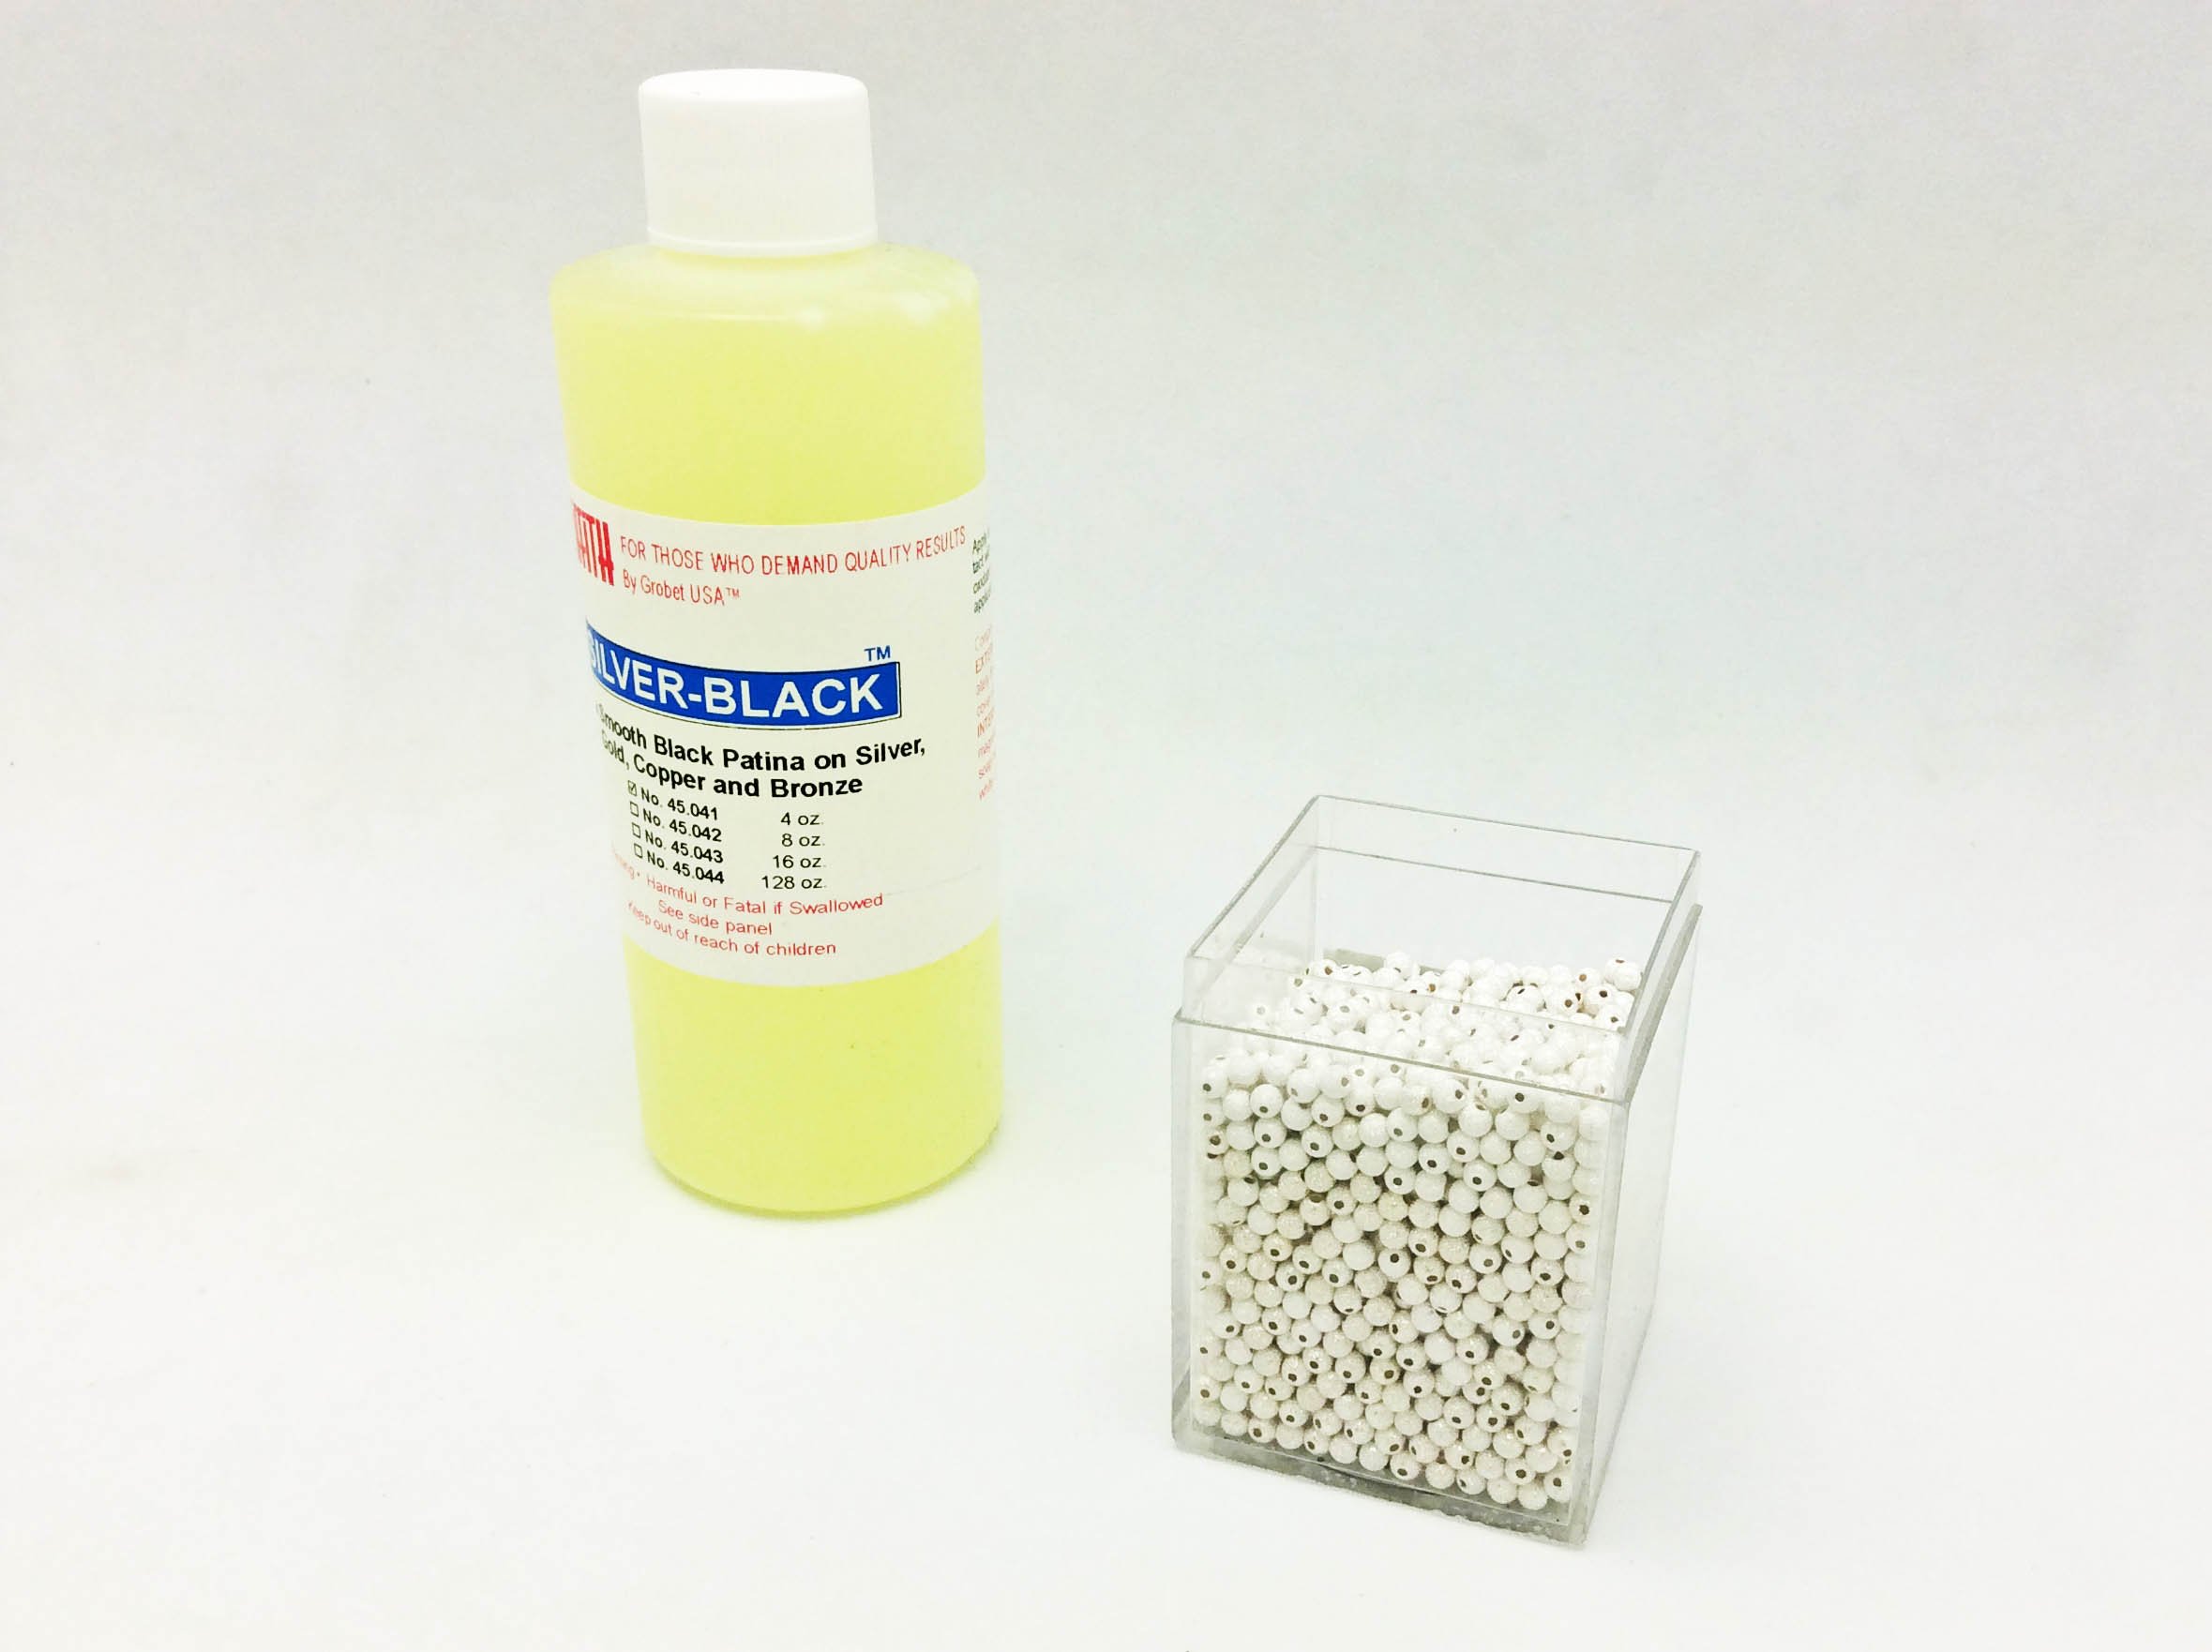
Sulfur based Oxidizing Solution and 3mm Sterling Silver Beads. - Tweezers or something to grab the pieces.
Now that we have all the essentials, we can get to the fun part!
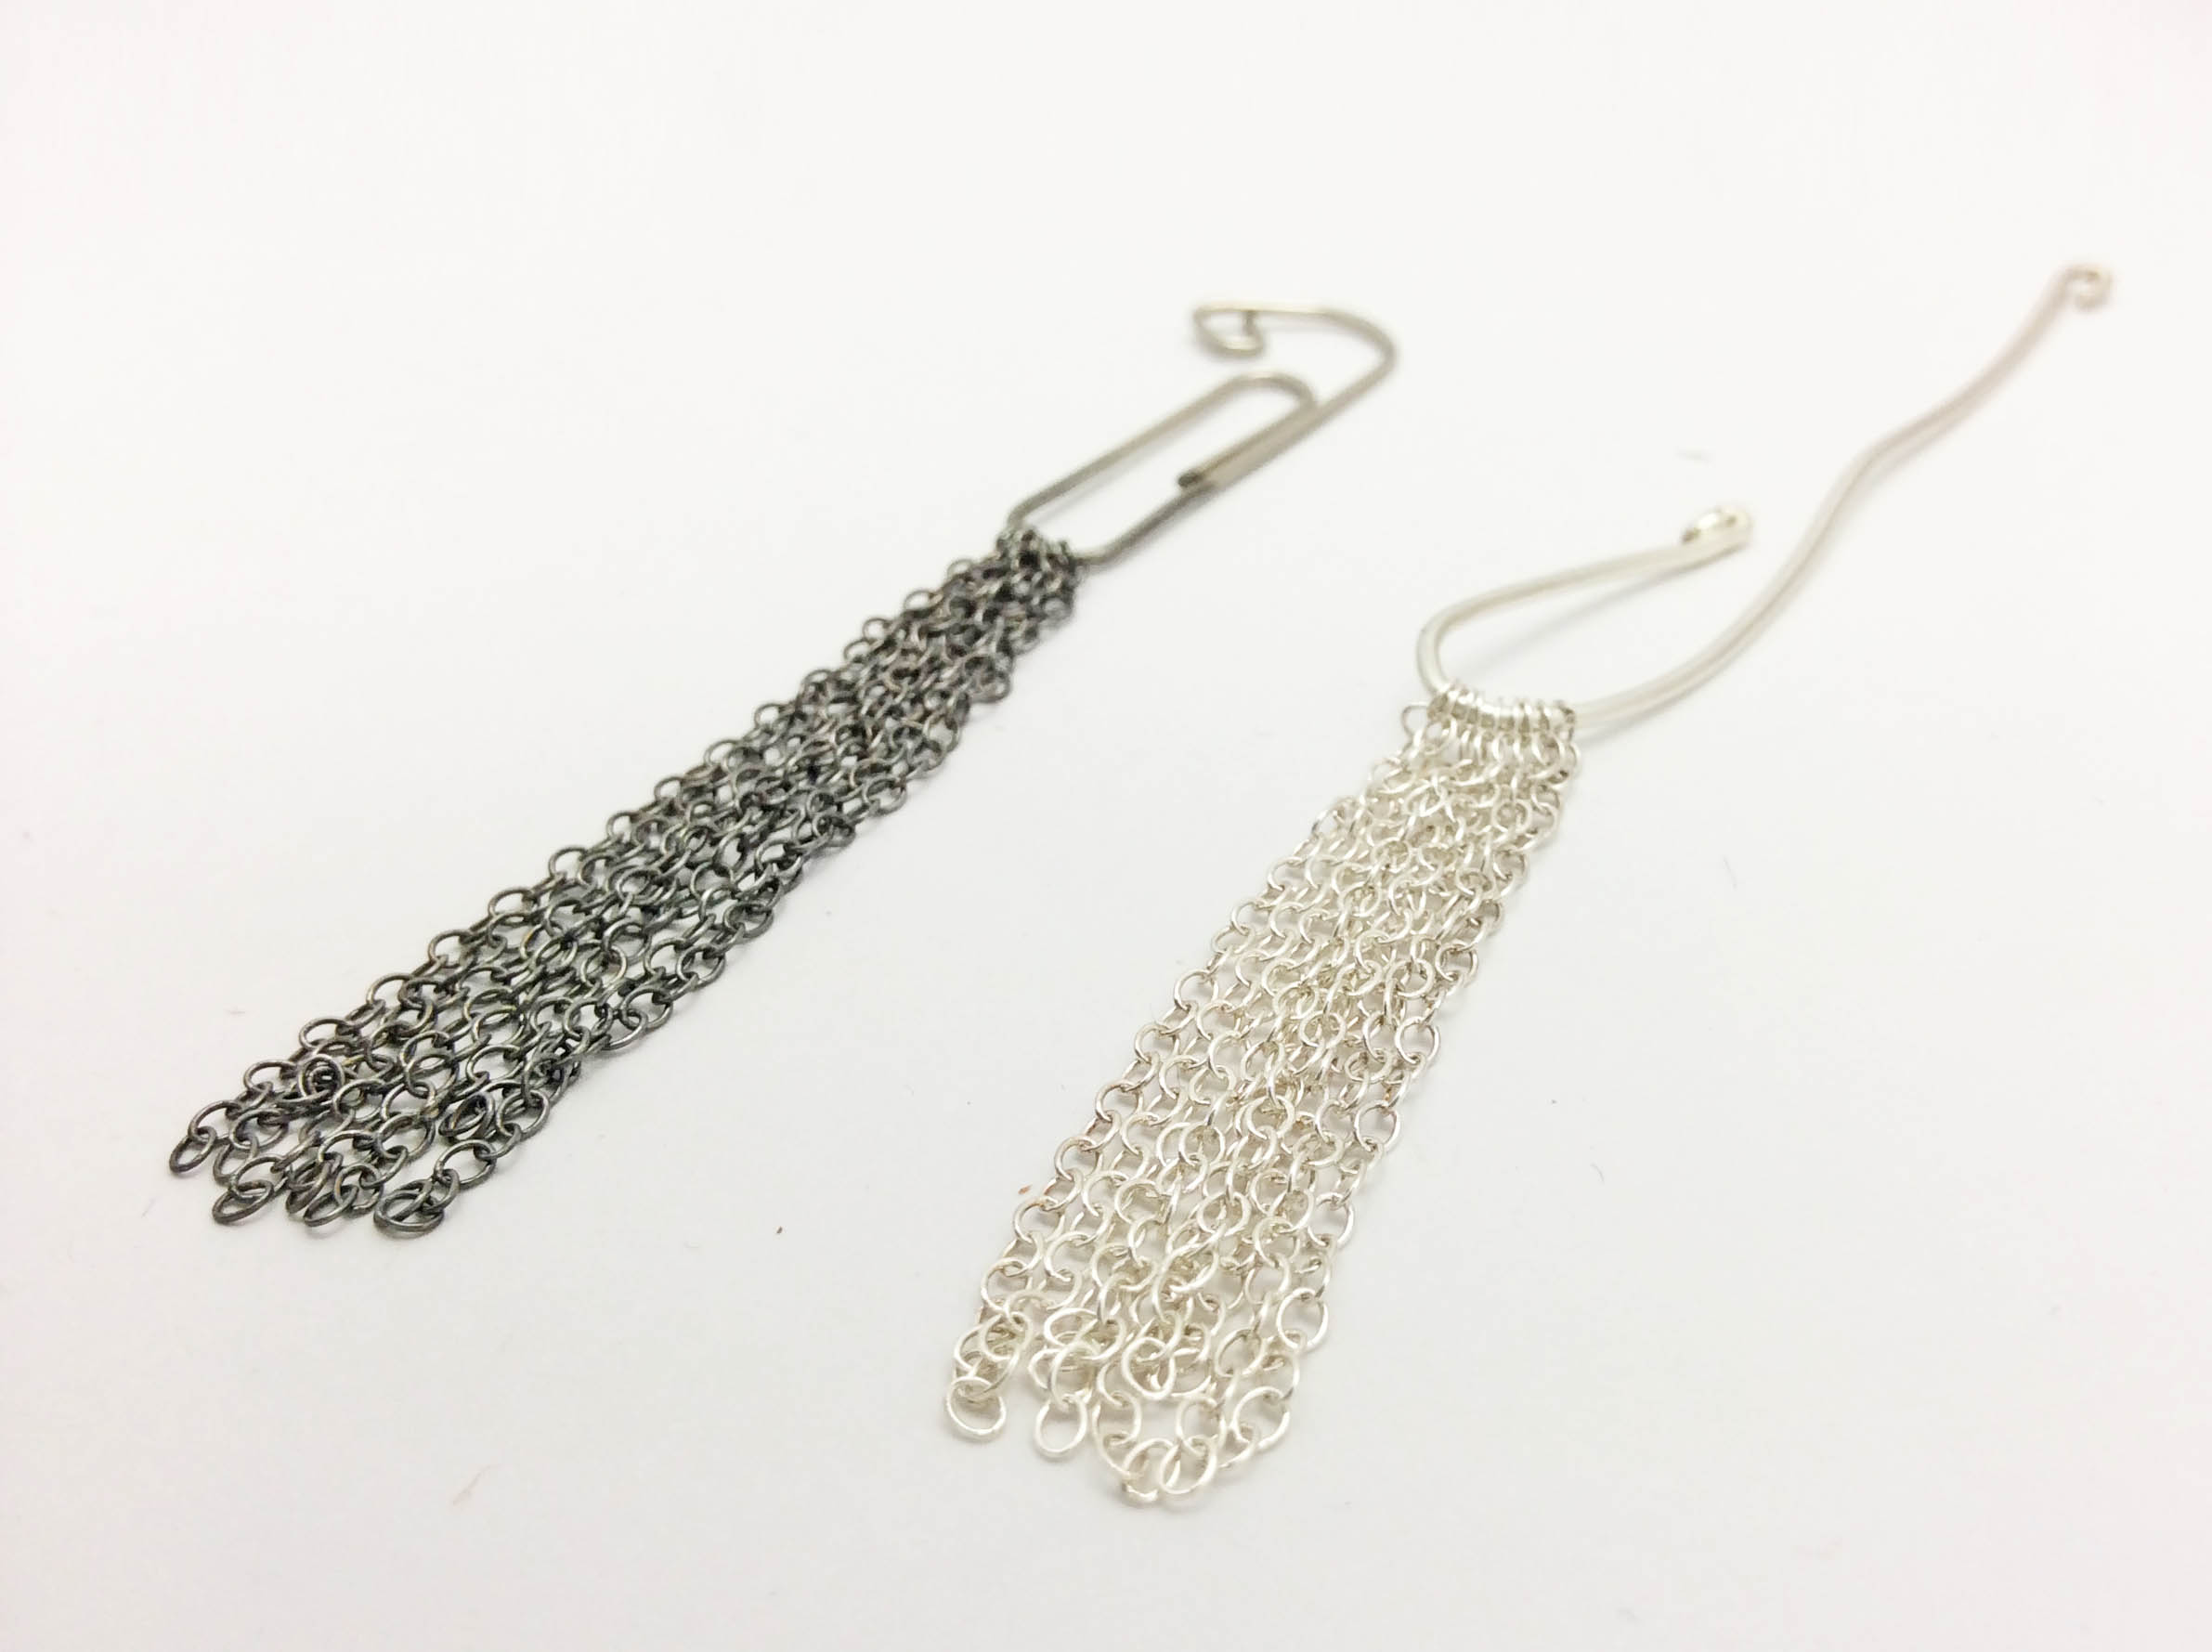
Tip #1: Dilute the oxidizing solution and keep it in a separate container.
Why water down the solution? Undiluted oxidizing solution is very strong—too strong for almost all of the Silver you would normally be using. Most people prefer a lightly oxidized, shiny black finish for the final product but it is very hard to control the level of darkness if you use the solution straight from the bottle. Unless the Silver you are using has rhodium plating or some anti-tarnish treatment, undiluted oxidizing solution will turn your silver a very dull, dark black before you can say “tarnish” three times fast!

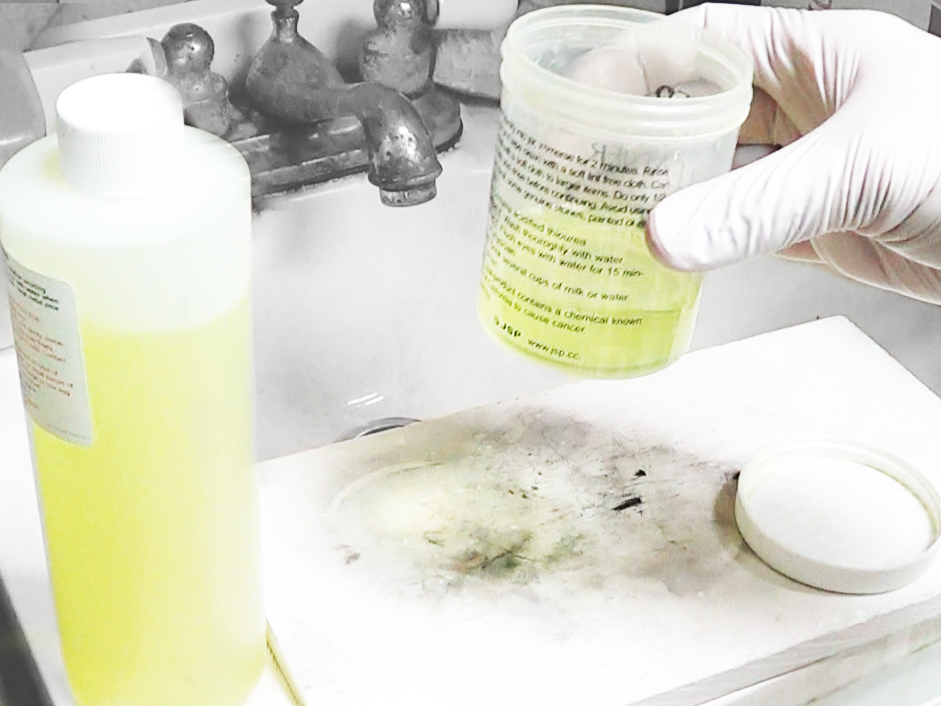
A mixture of one part Silver Black with one or two parts water is ideal for most projects and will allow you to stop the reaction before the silver becomes too dark. It is always better to go slowly than darken the silver too fast and have to polish it off. You can store the watered down solution in a separate glass or plastic container with a lid and reuse it until it becomes too weak.
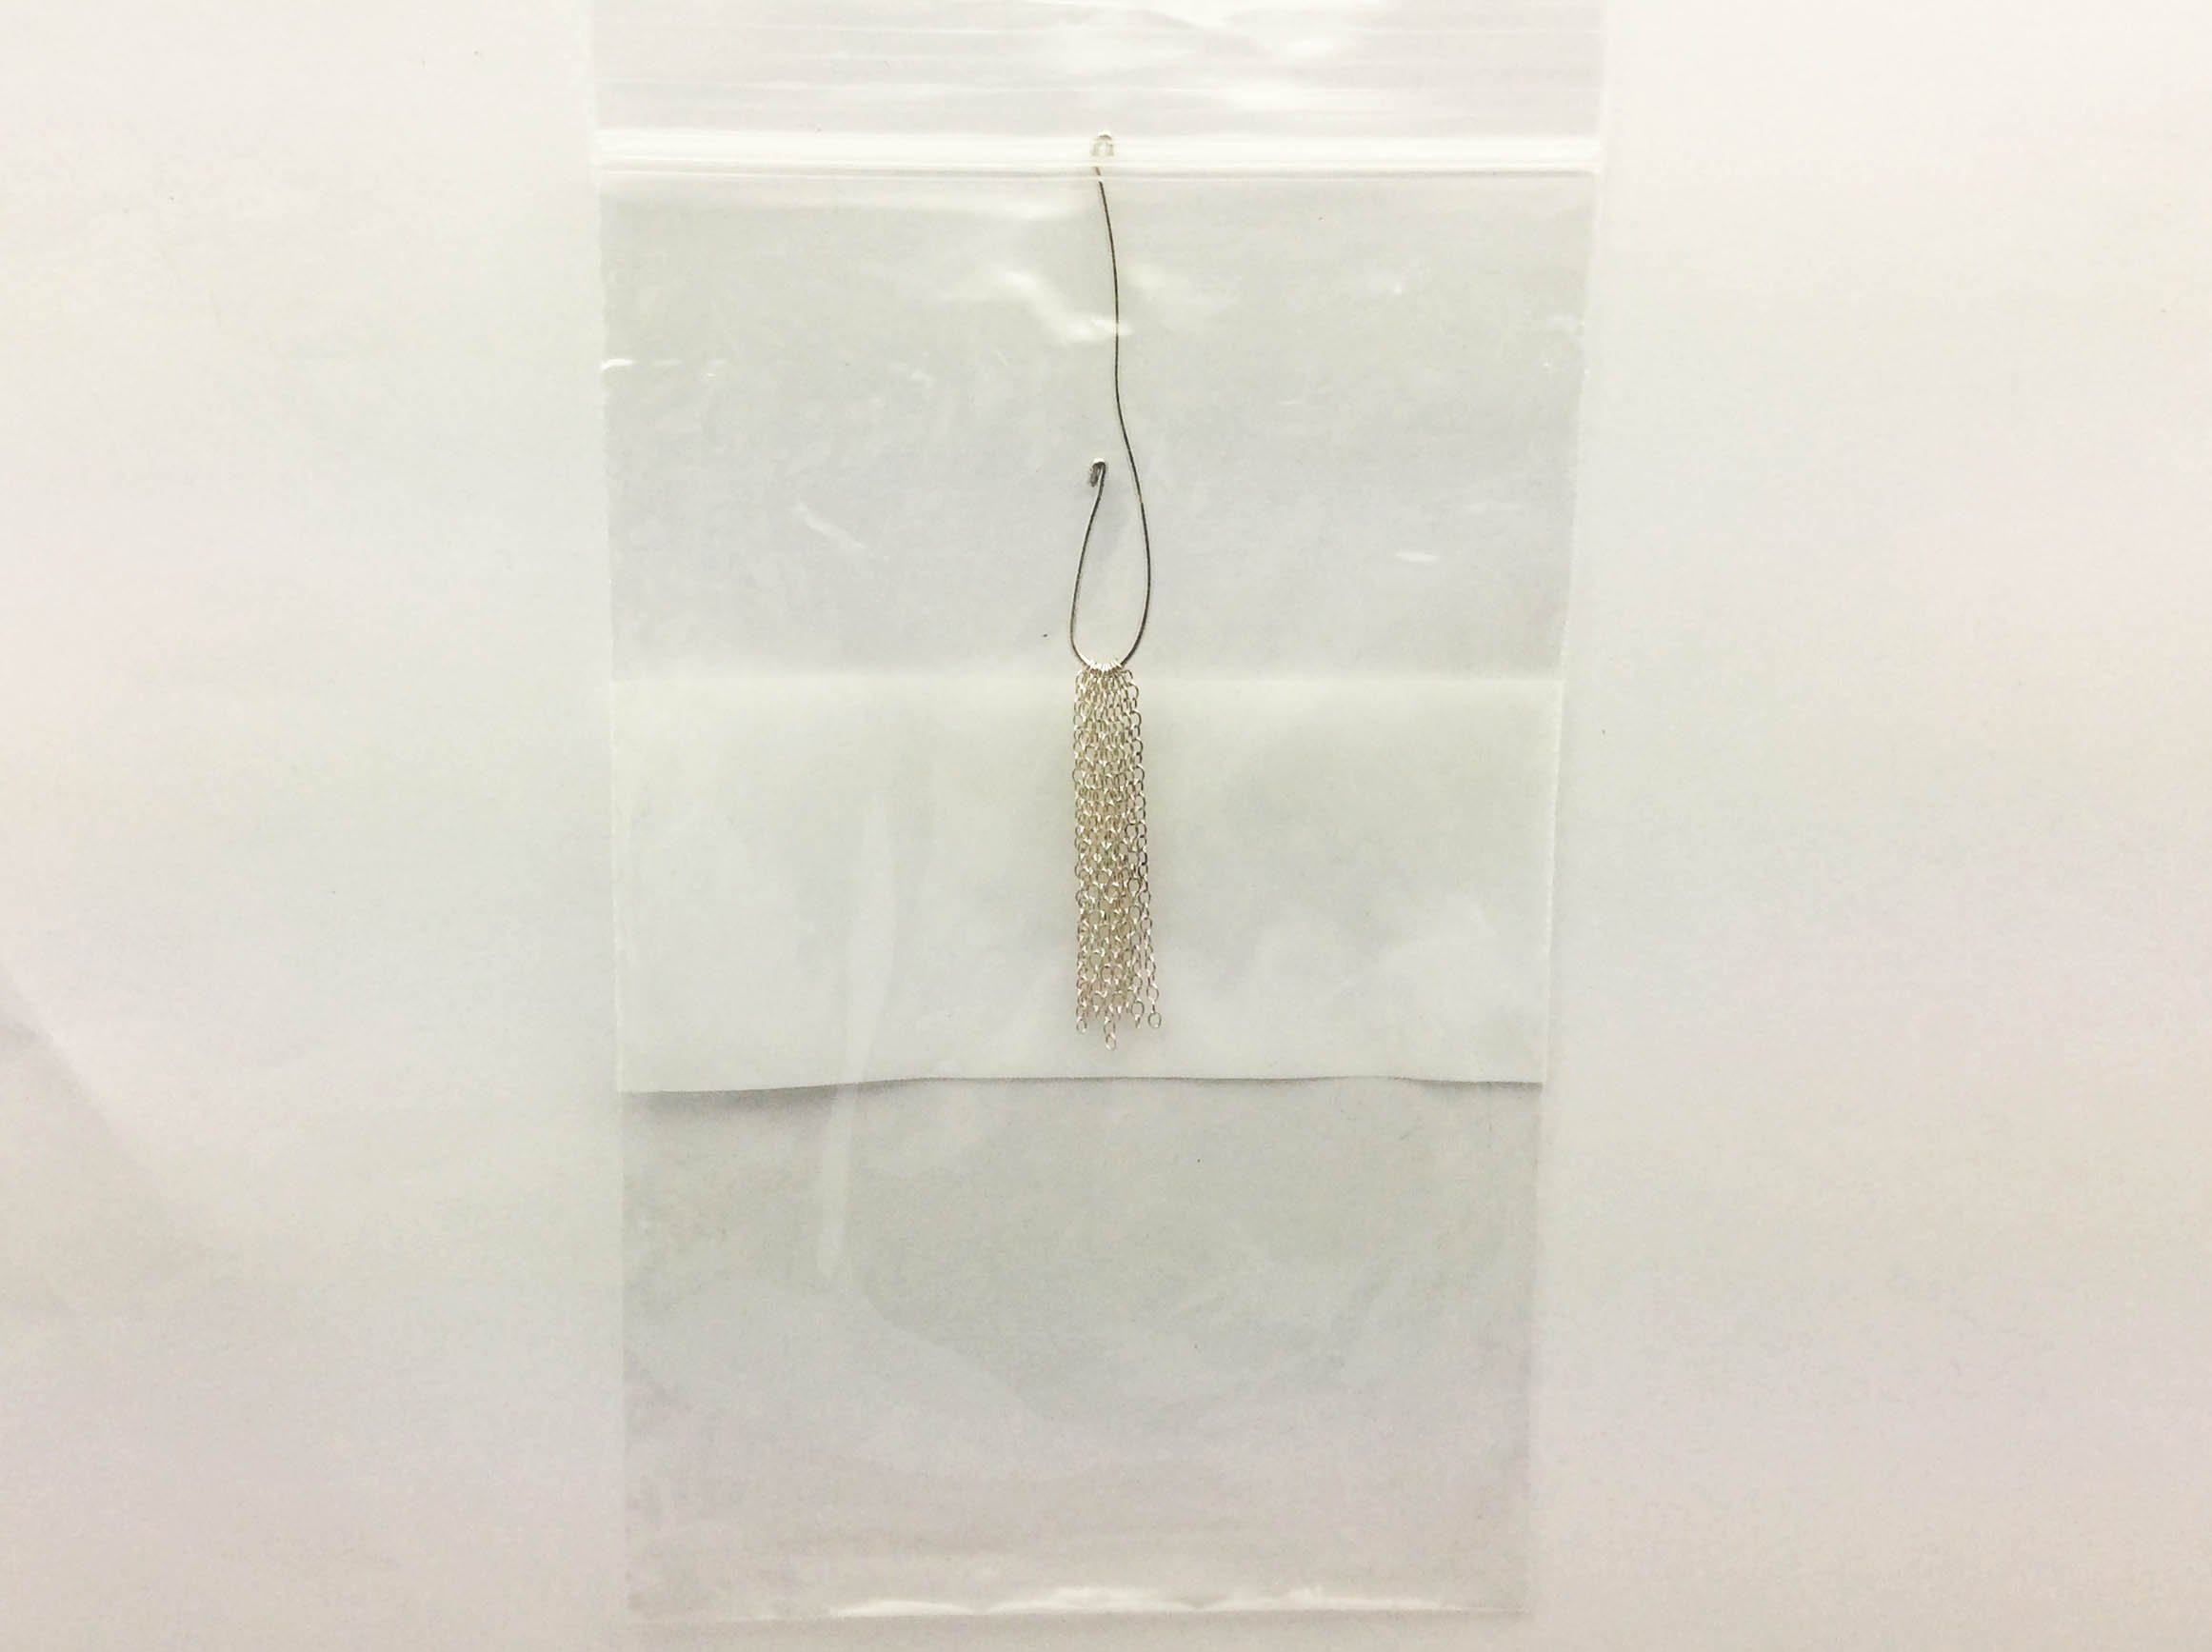
Tip #2: Resealable Plastic Bag
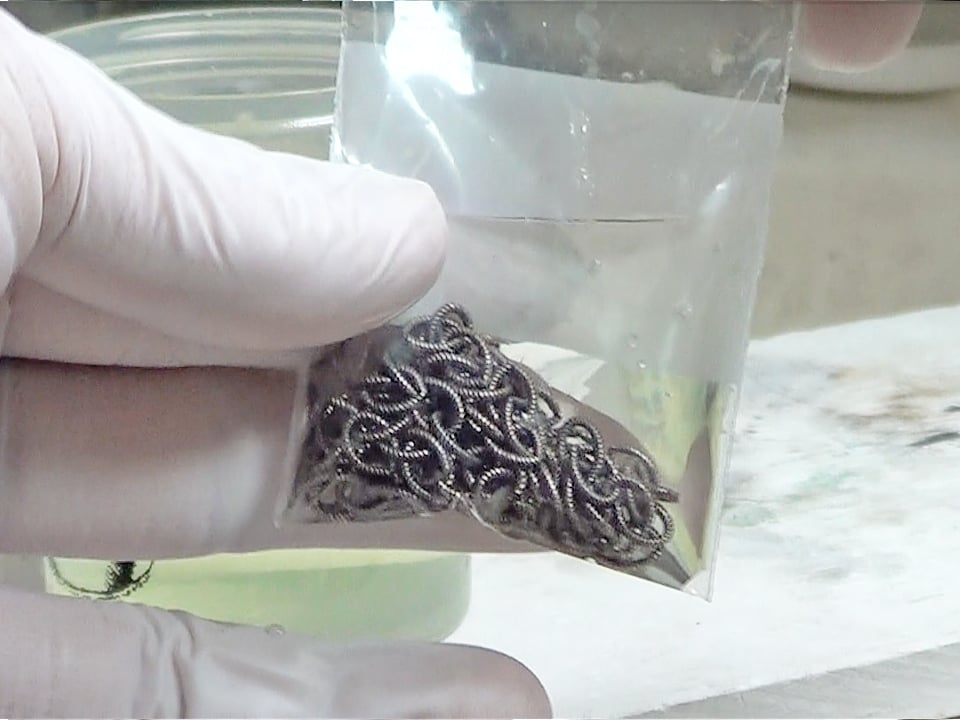
There are a few reasons why using a resealable plastic bag can be one of the biggest time and money savers for oxidizing silver. You can pour the diluted solution into the bag, do what you need to do, and pour it back without lowering the strength of your original bottle. Over time, the plastic bag saves a lot of solution because it is easy to drain, causes less spills, and allows you to use the same liquid until the oxidizing power is exhausted. Another important point is that doing your oxidation in a sealed off bag contains the nasty fumes and unpleasant odors the reaction generates.
Tip #3: Stainless Steel Paper Clips or Staples
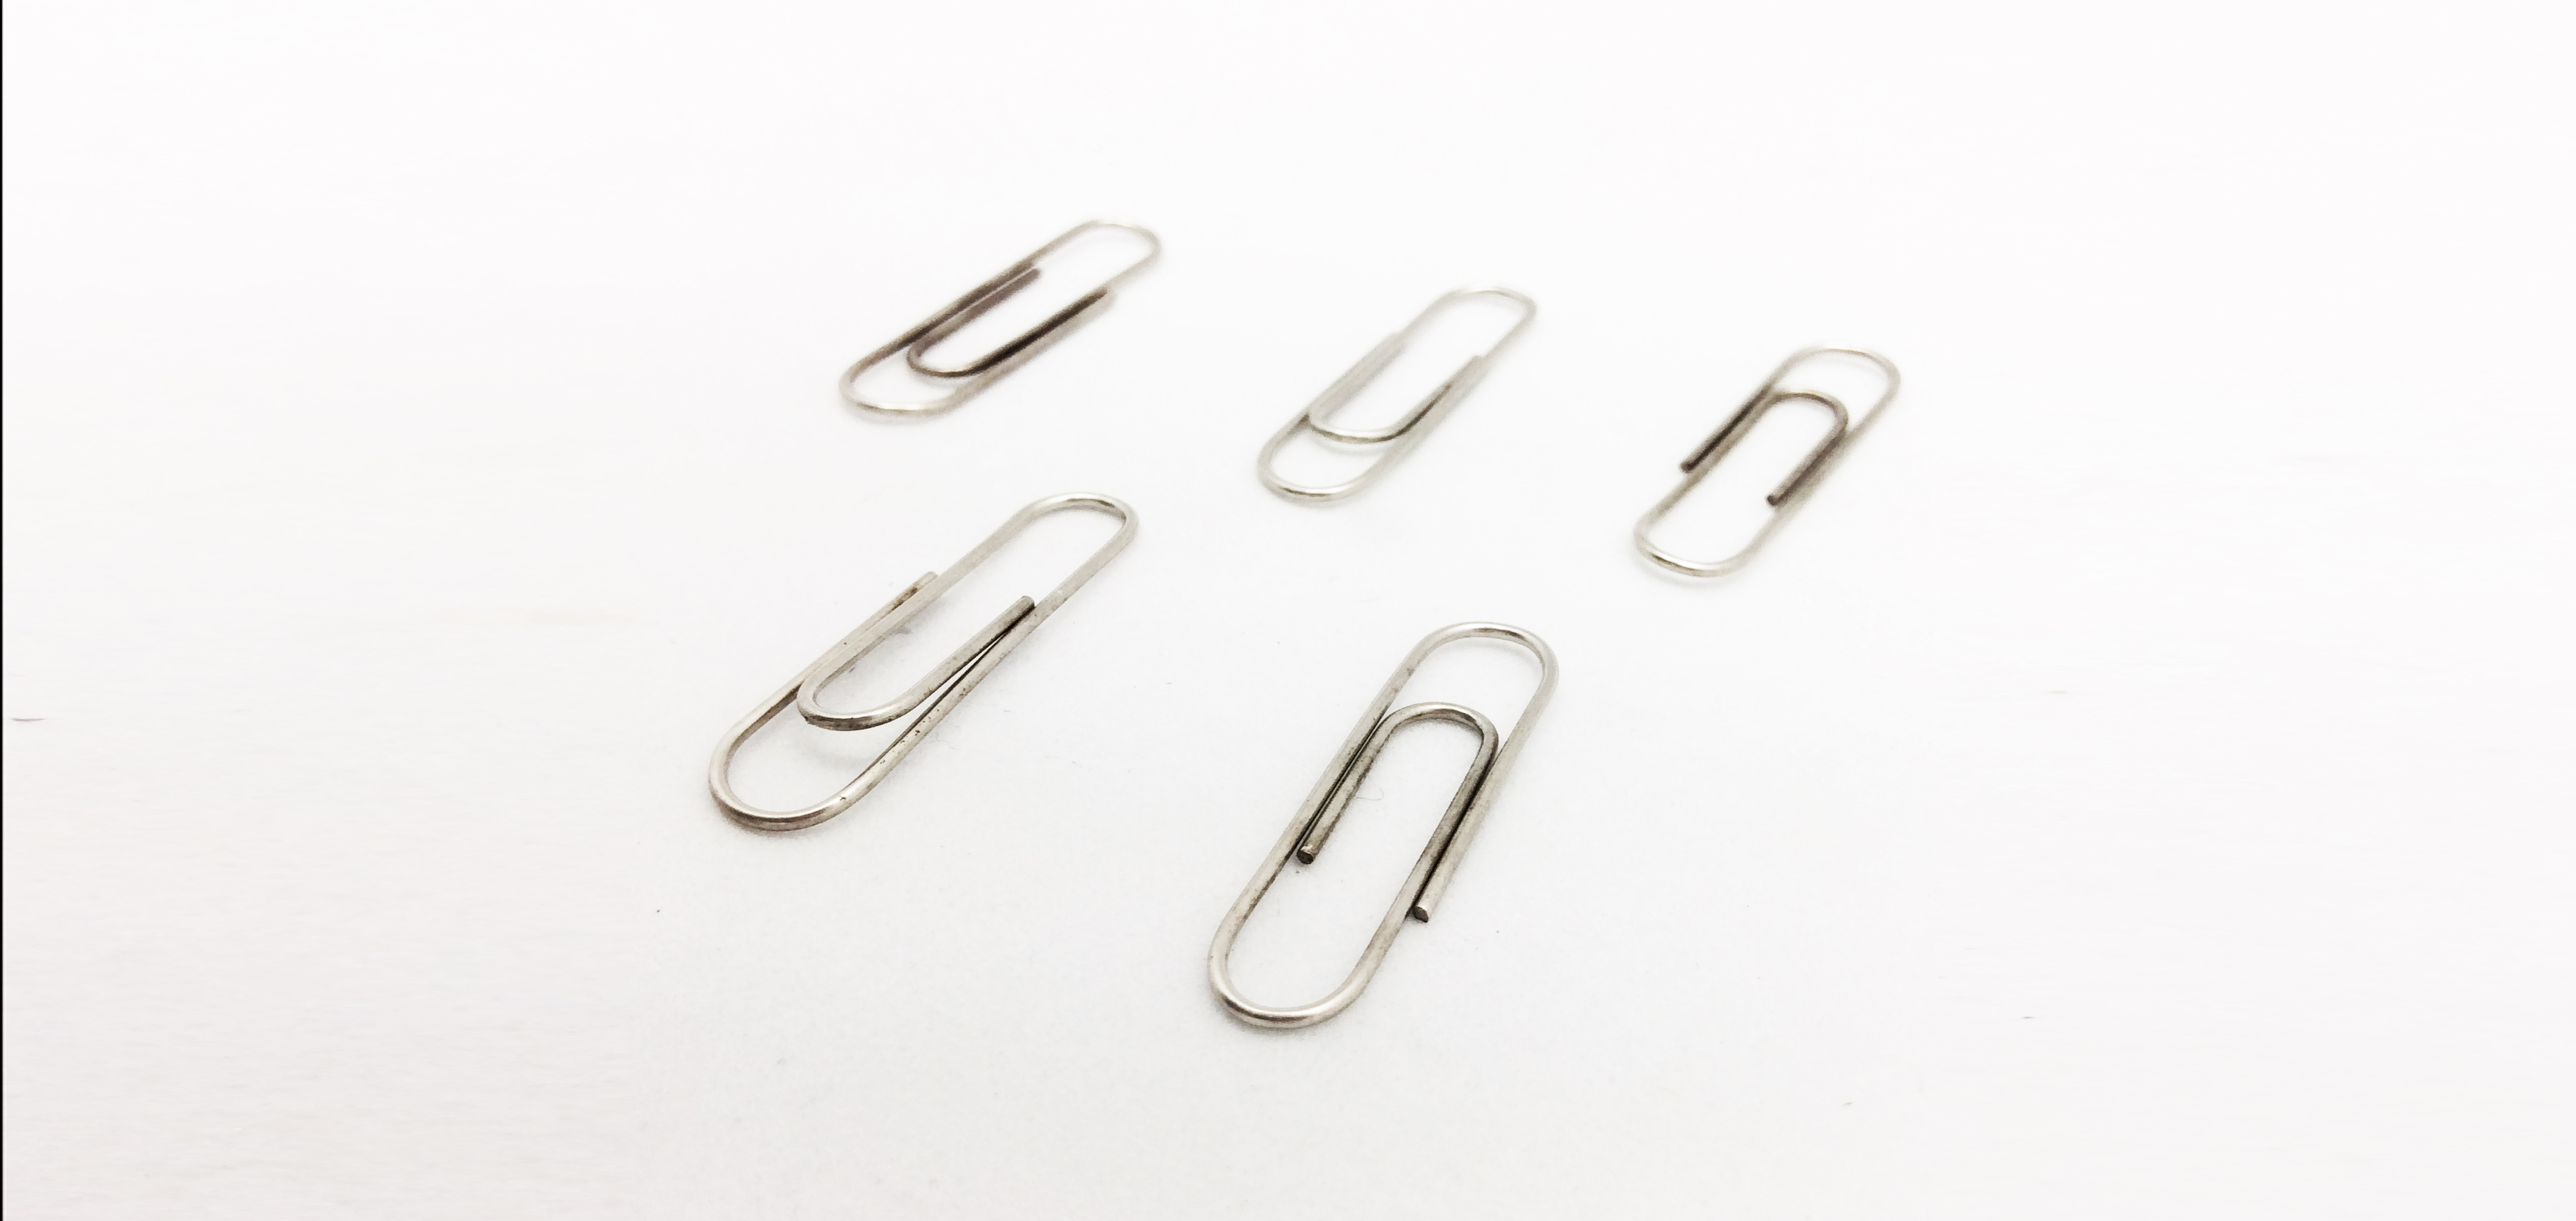
If you are having problems getting Sterling Silver to oxidize, having a stainless steel paper clip or staple in the solution will make the process go faster. Why? Because Science, that’s why! Stainless steel is a catalyst for the oxidation reaction so having it near your Silver components while submerged in oxidizing solution will help the reaction along. I like using paper clips to control the darkness because when you poke around, the areas you touch will change color faster. You can also put the items directly onto the paper clip, dip into solution, and quickly remove it to easily get an even color on multiple items.
- Paper Clips are great for making sure that all your separate Sterling Silver Findings get the same amount of time in the acidic oxidizing solution. It also prevents you from fishing around with tweezers to grab every last piece stuck at the bottom!
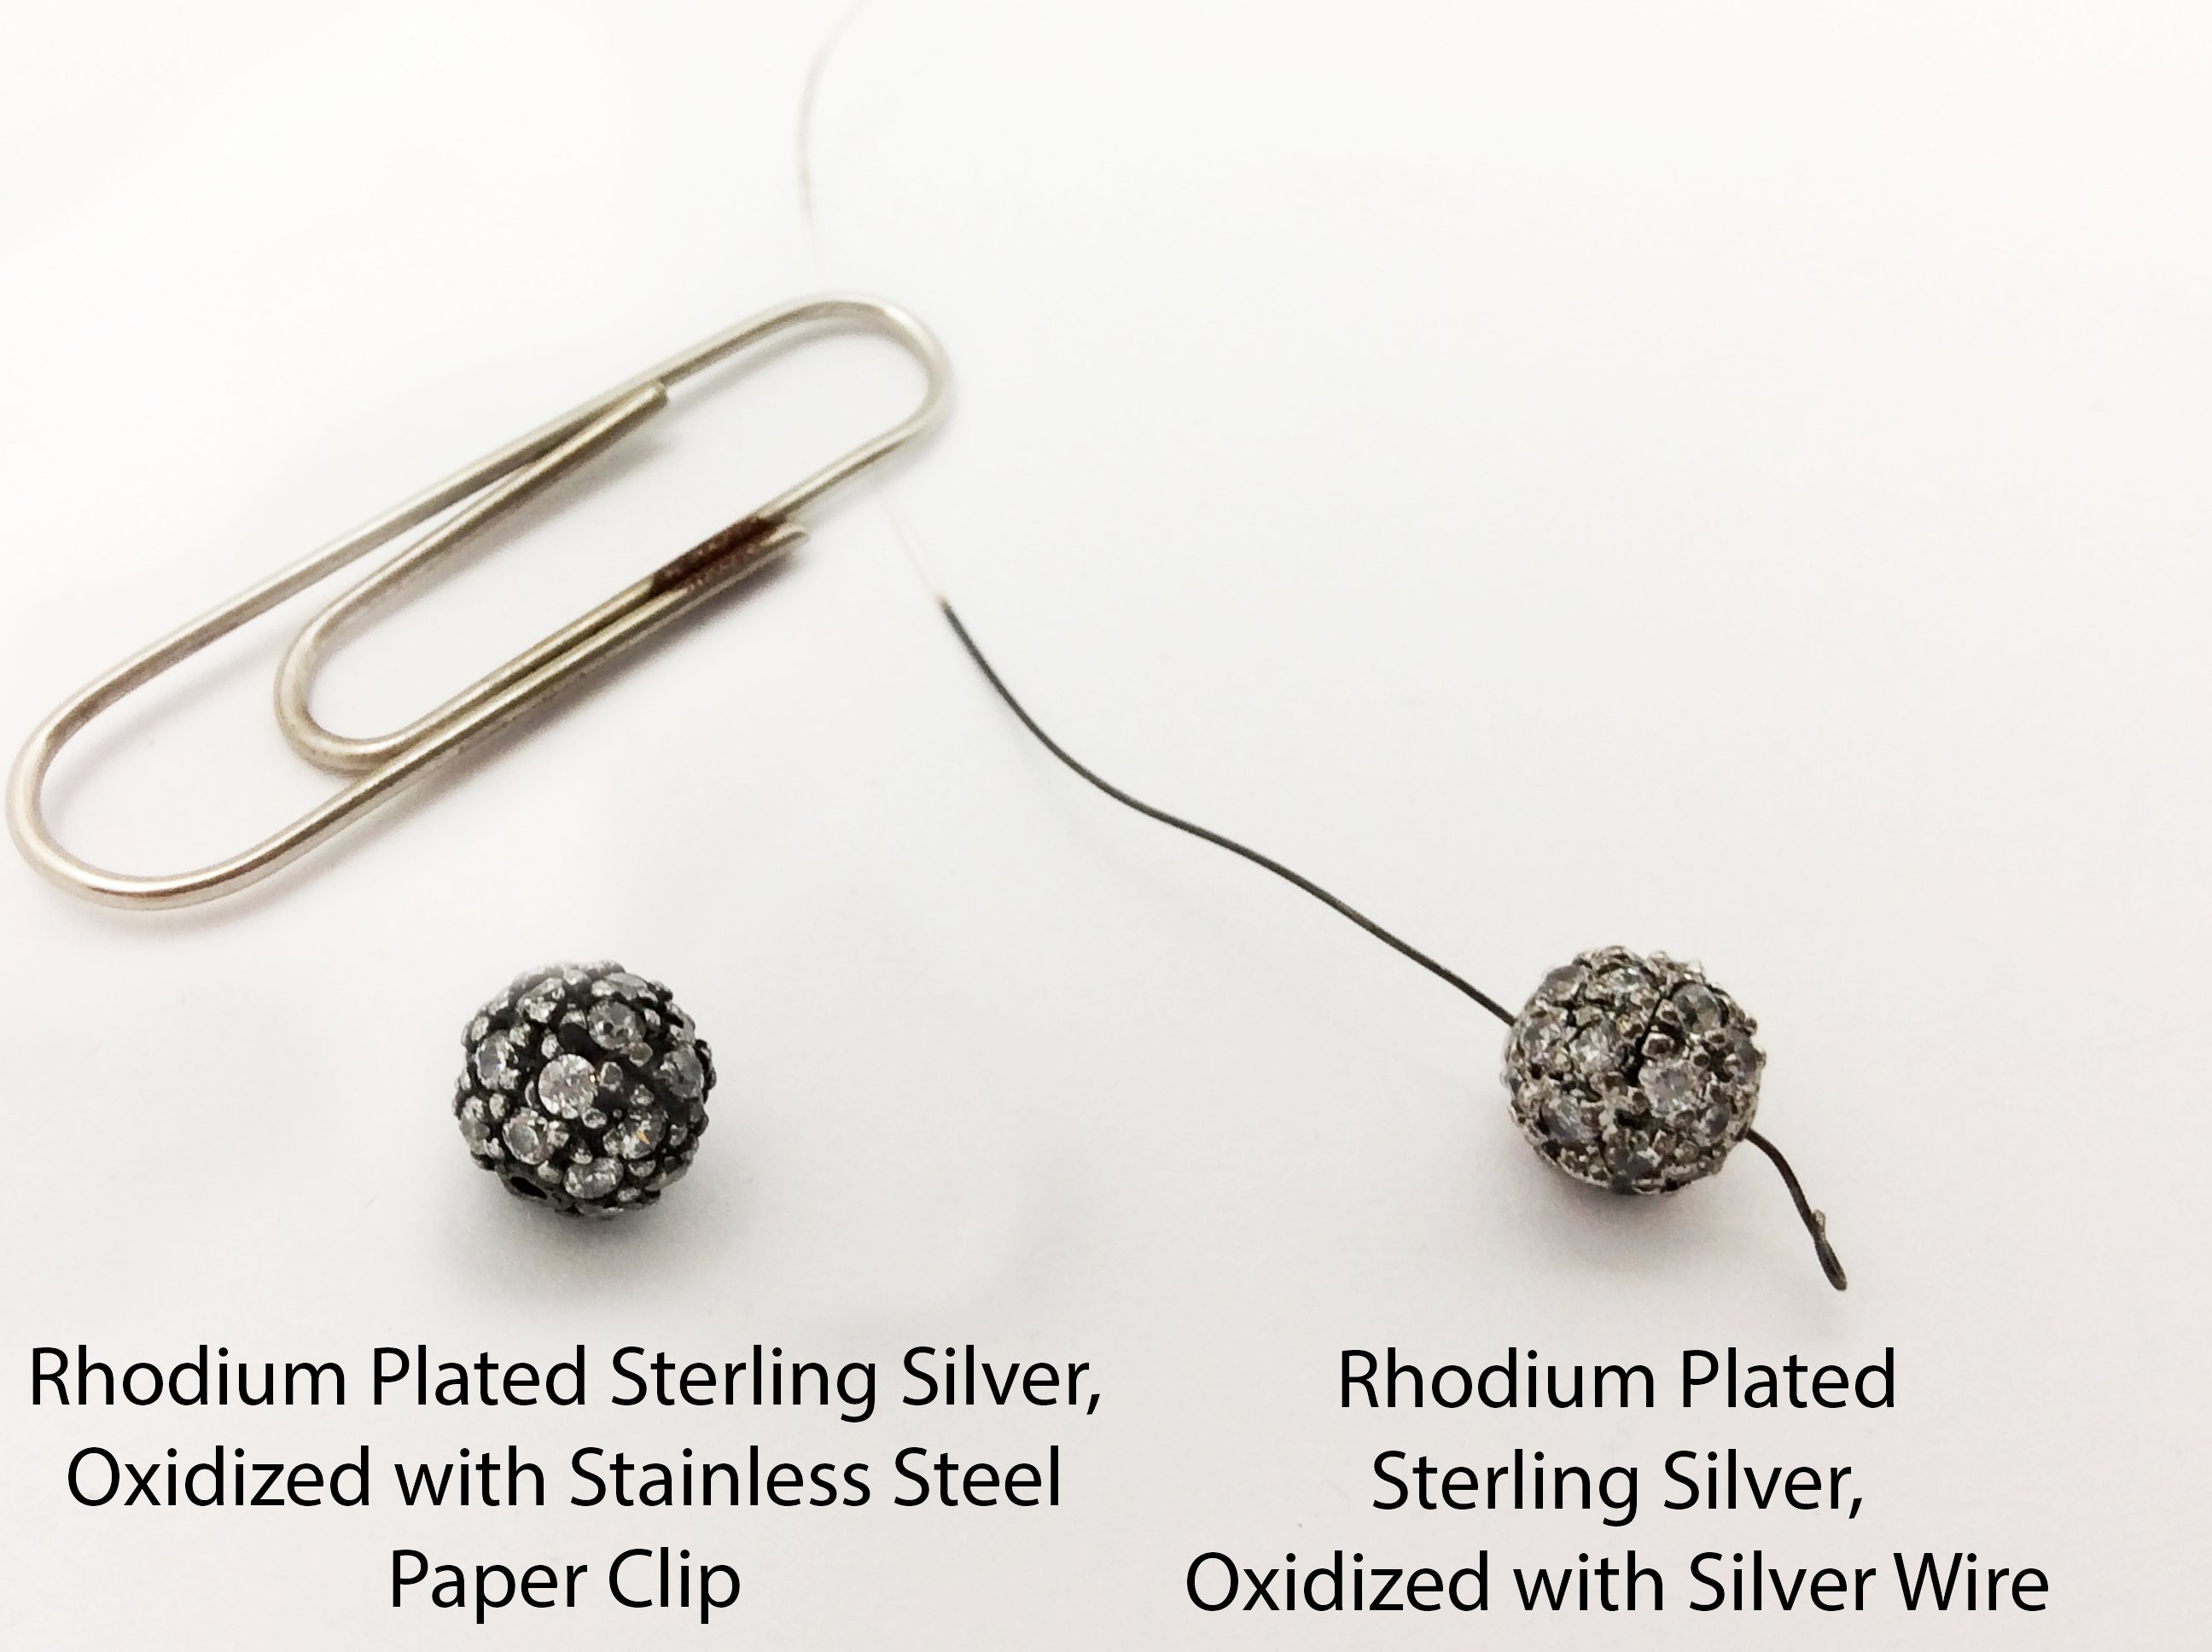
Another great use for stainless steel in combination with Oxidizing solution is for oxidizing rhodium plated items. It is very difficult to oxidize rhodium and it will not change color even in undiluted acid solution . However, if you add a paper clip to the mix, things will quickly change. The piece will not be as dark as naked Sterling Silver would be, but will end up a few shades darker and look very sleek.
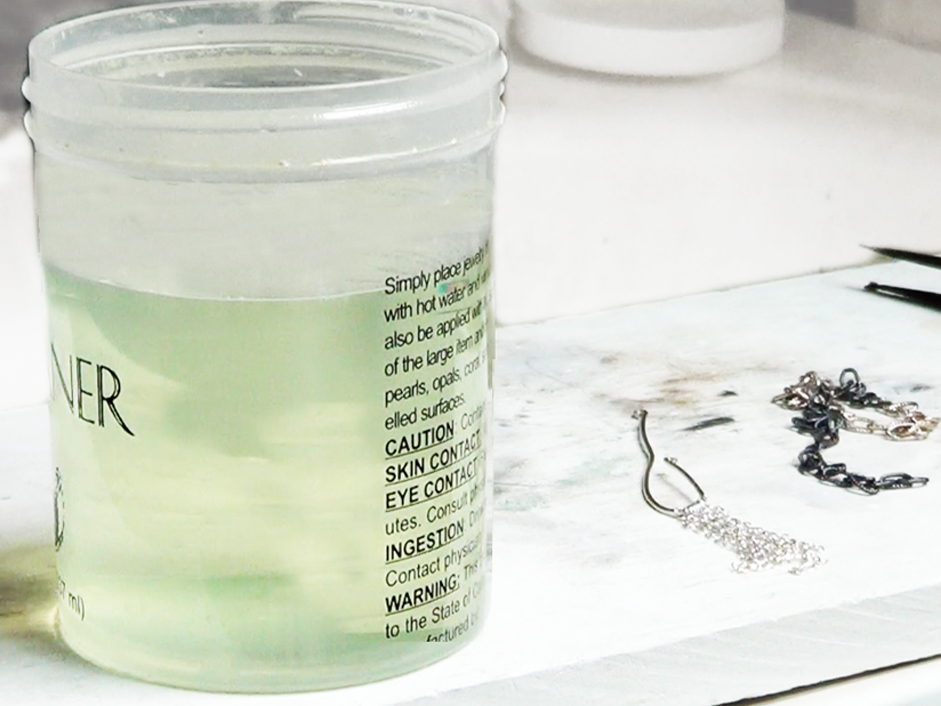
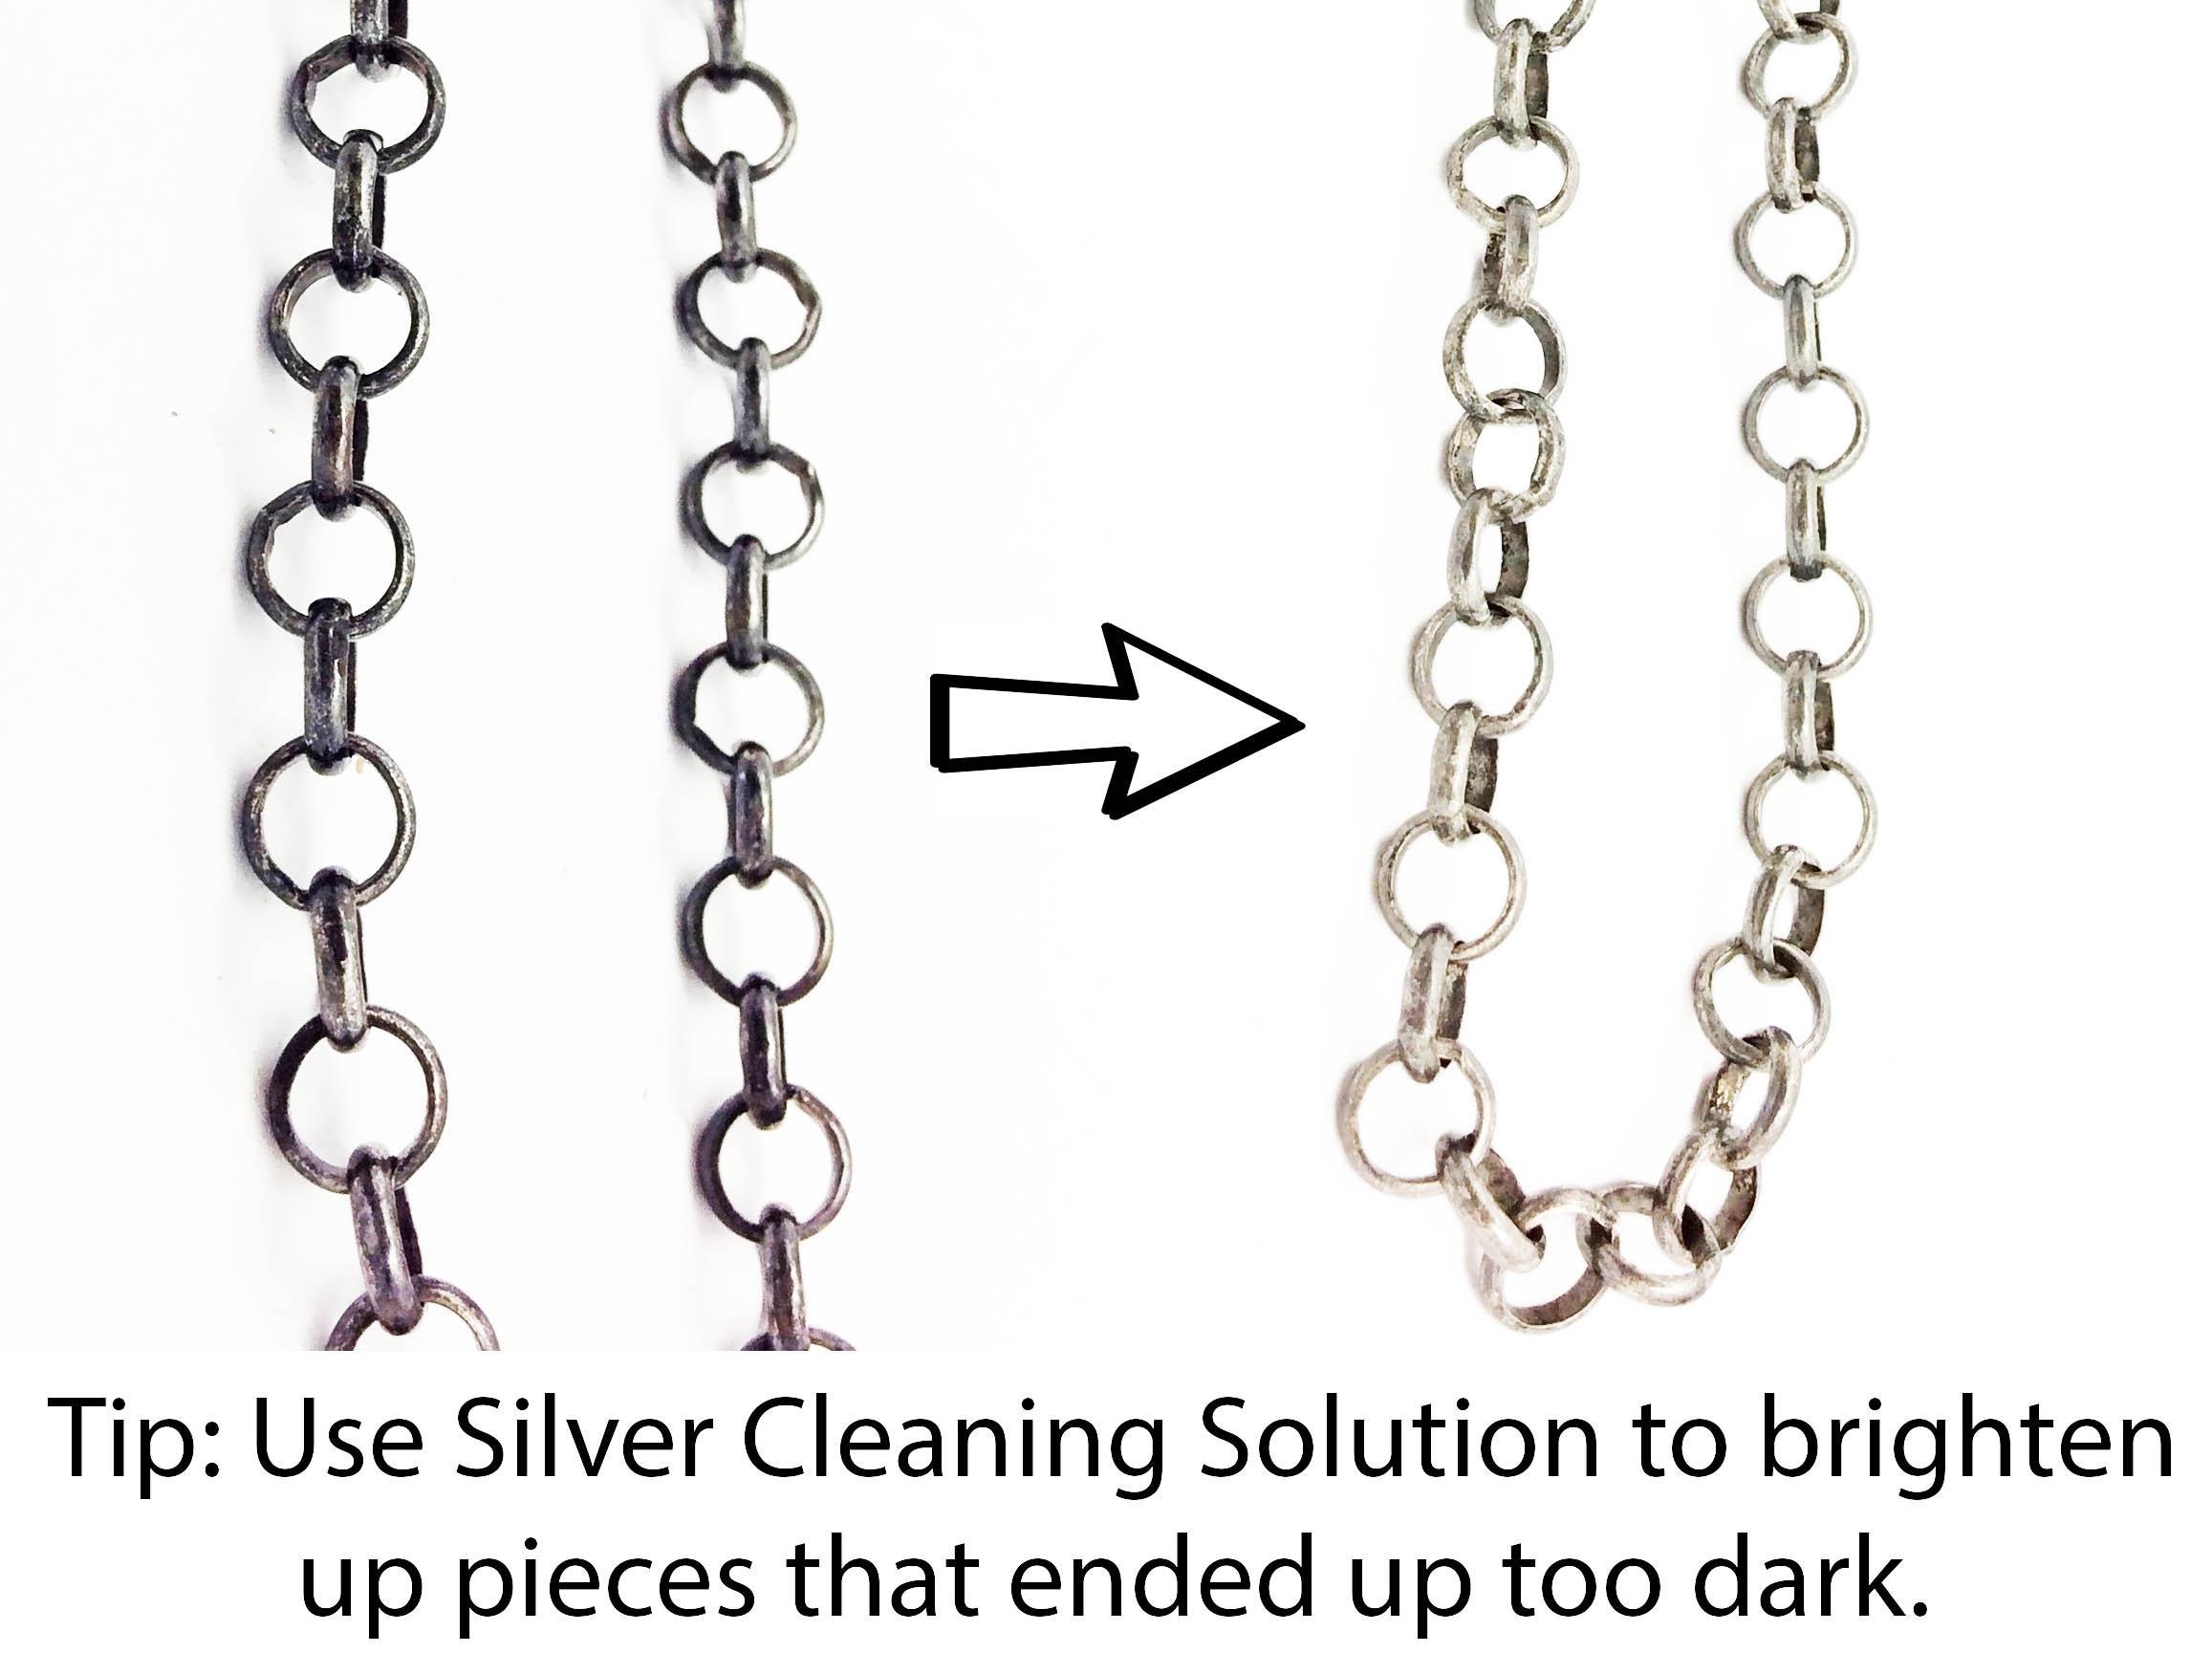
Tip #4: Silver Cleaning Solution
Did you go too far? No problem, because there’s a way around it! If you feel like the silver has become too dark, you can reverse some of the damage by putting it in cleaning solution and shaking vigorously. Make sure that you use new silver cleaning solution for best results. It wont go back to the original color, but the metal will lighten a few shades which will give you another chance to get the color you originally wanted.
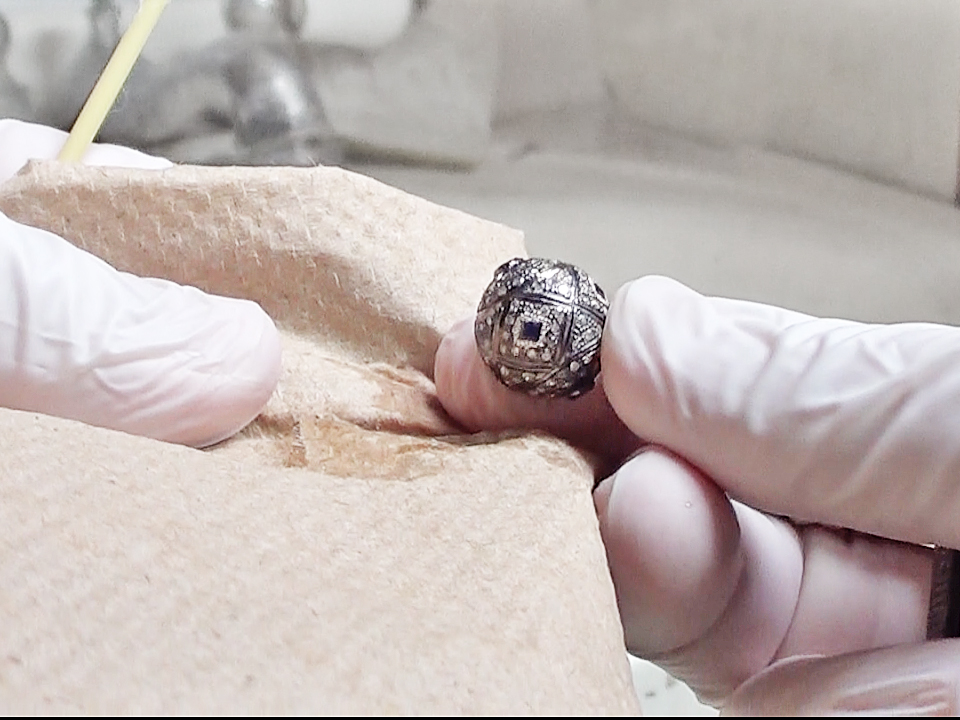
Tip #5: Cotton Swabs
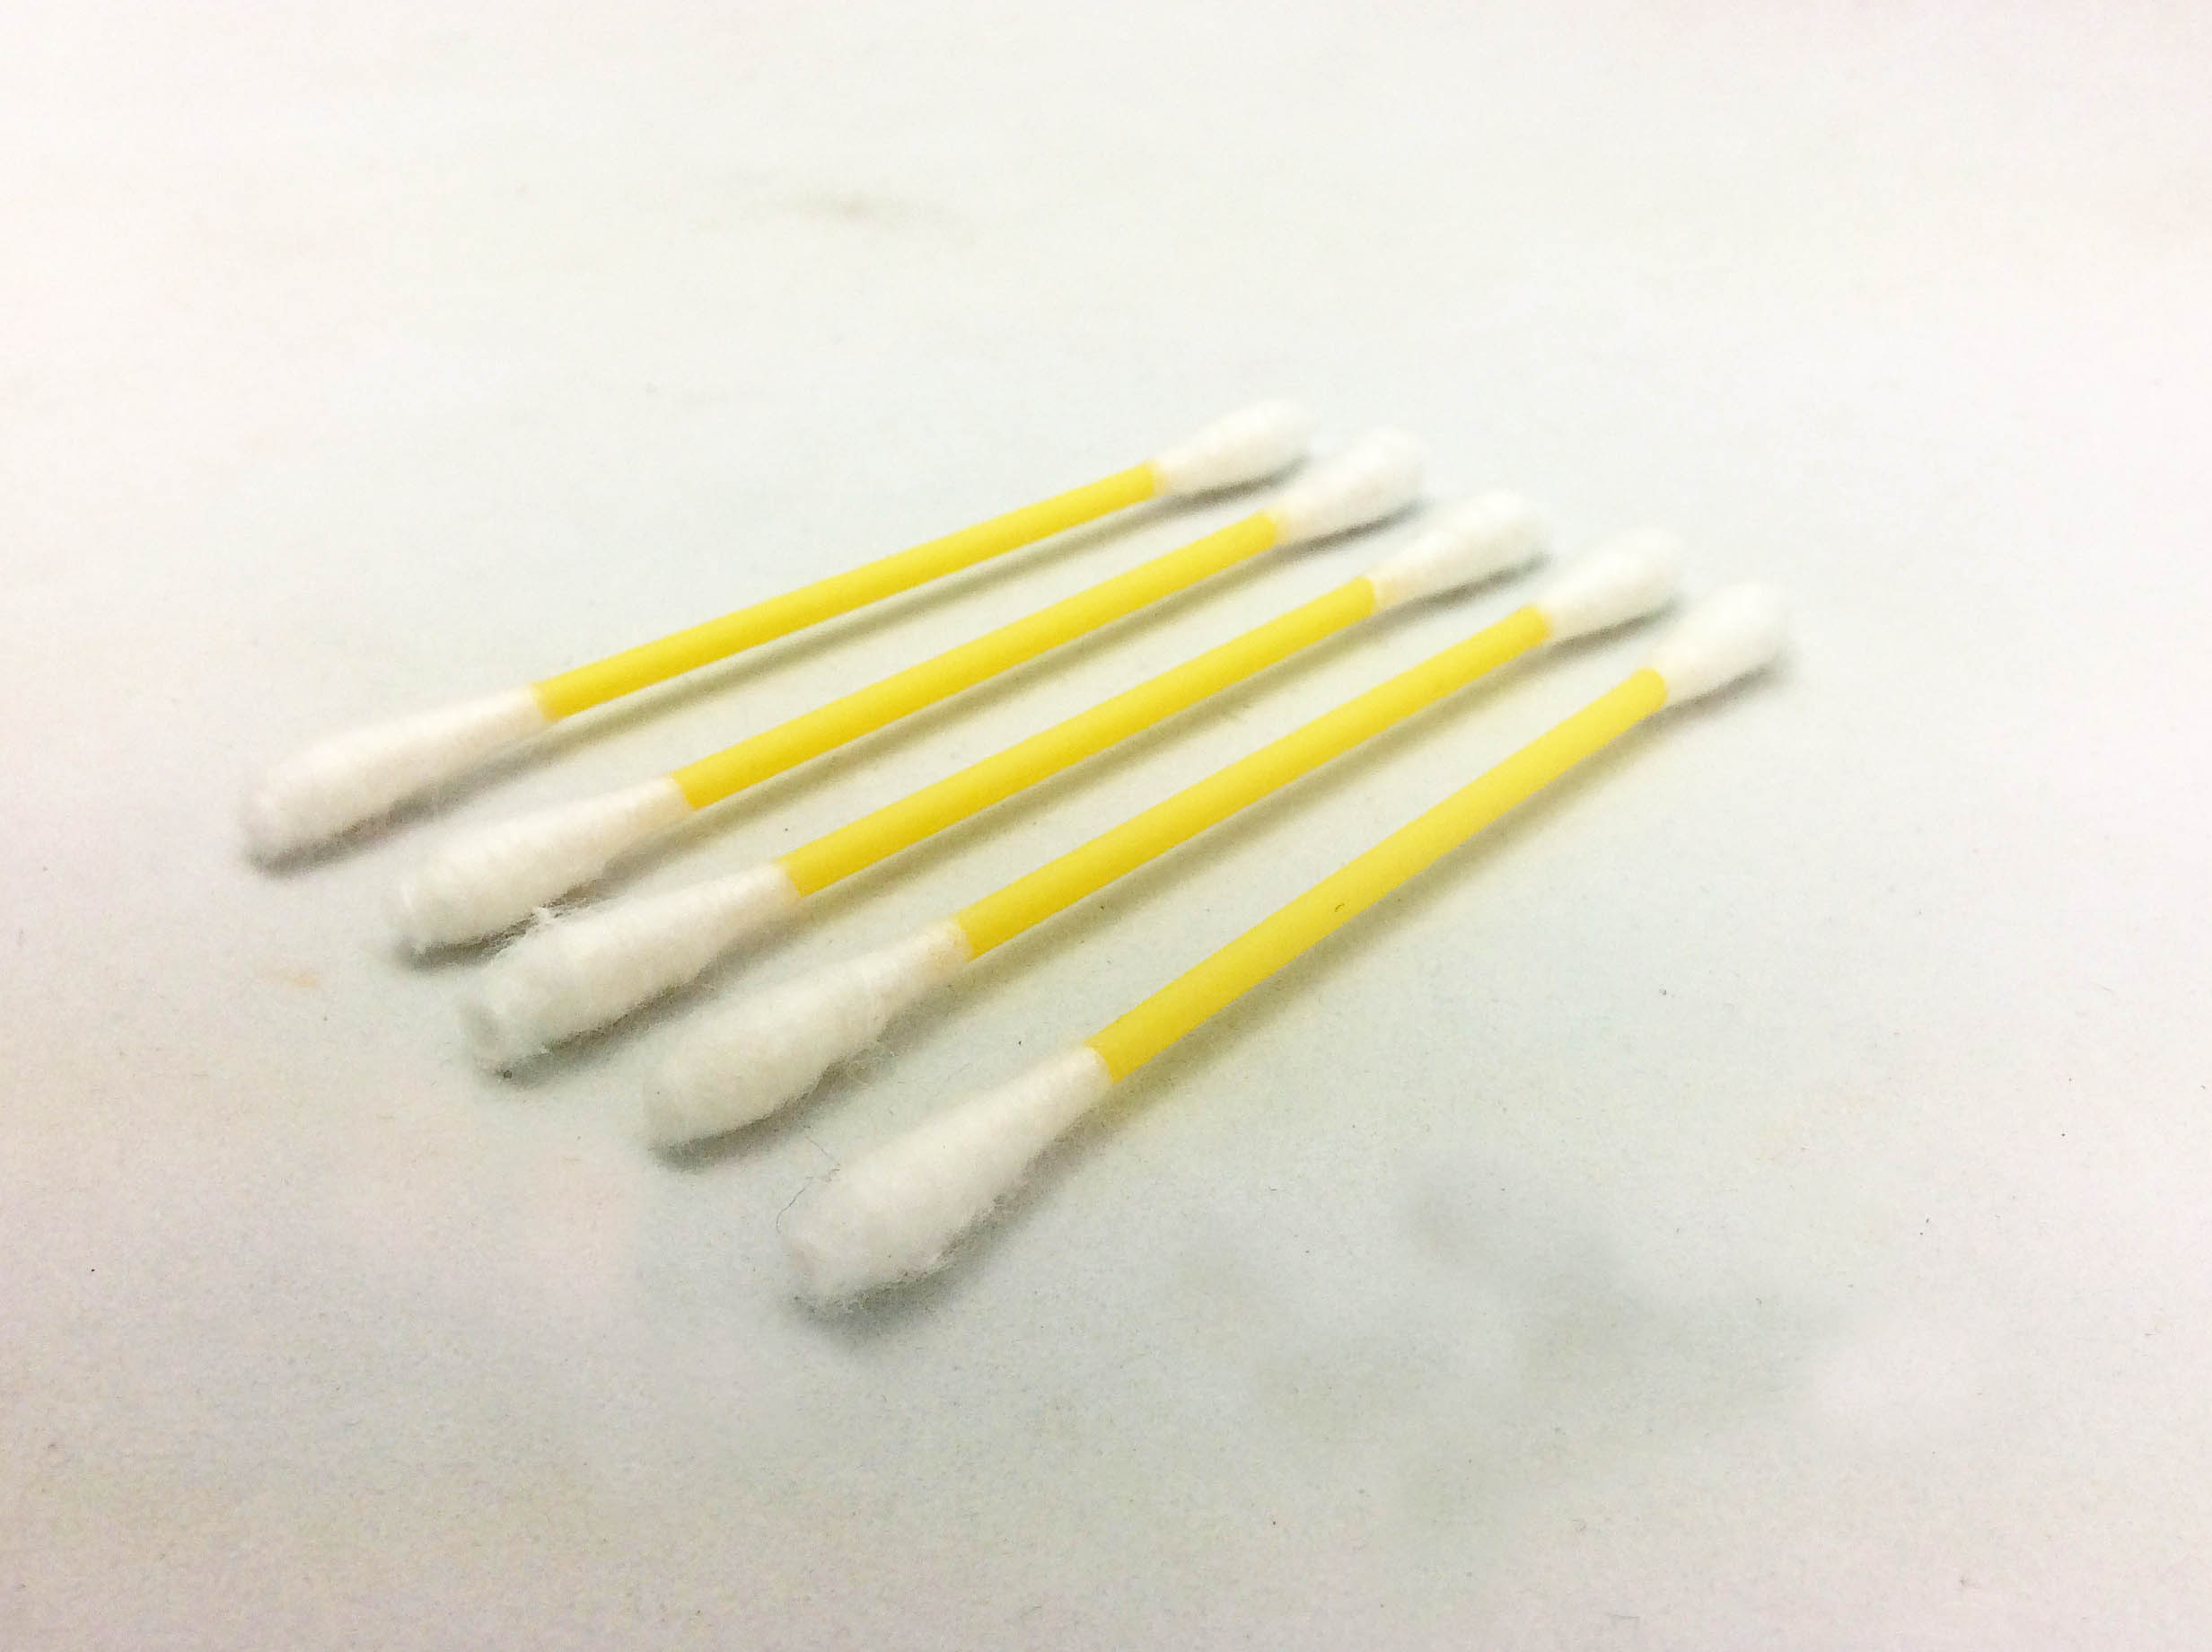
Cotton Swabs are great for the times that you don’t need to oxidize the entire piece. When you need a small touch up or want to avoid getting acid on delicate stones, dip the cotton swab into undiluted solution, apply to the area you want to darken, reapply until you get the desired color, and then rinse… Which brings us to our last pro-tips!

Tip #6: Paper Towels
These are obviously good for drying your pieces after rinsing them off but that’s not all! Paper towels are great for removing areas of uneven color if you don’t have a polishing cloth laying around. Just gently scrub the parts which are darker and it should gradually become lighter until the color blends in with the surrounding areas. Keep in mind that rough paper towels will work better than soft ones for scrubbing, but both will work if you try long enough.
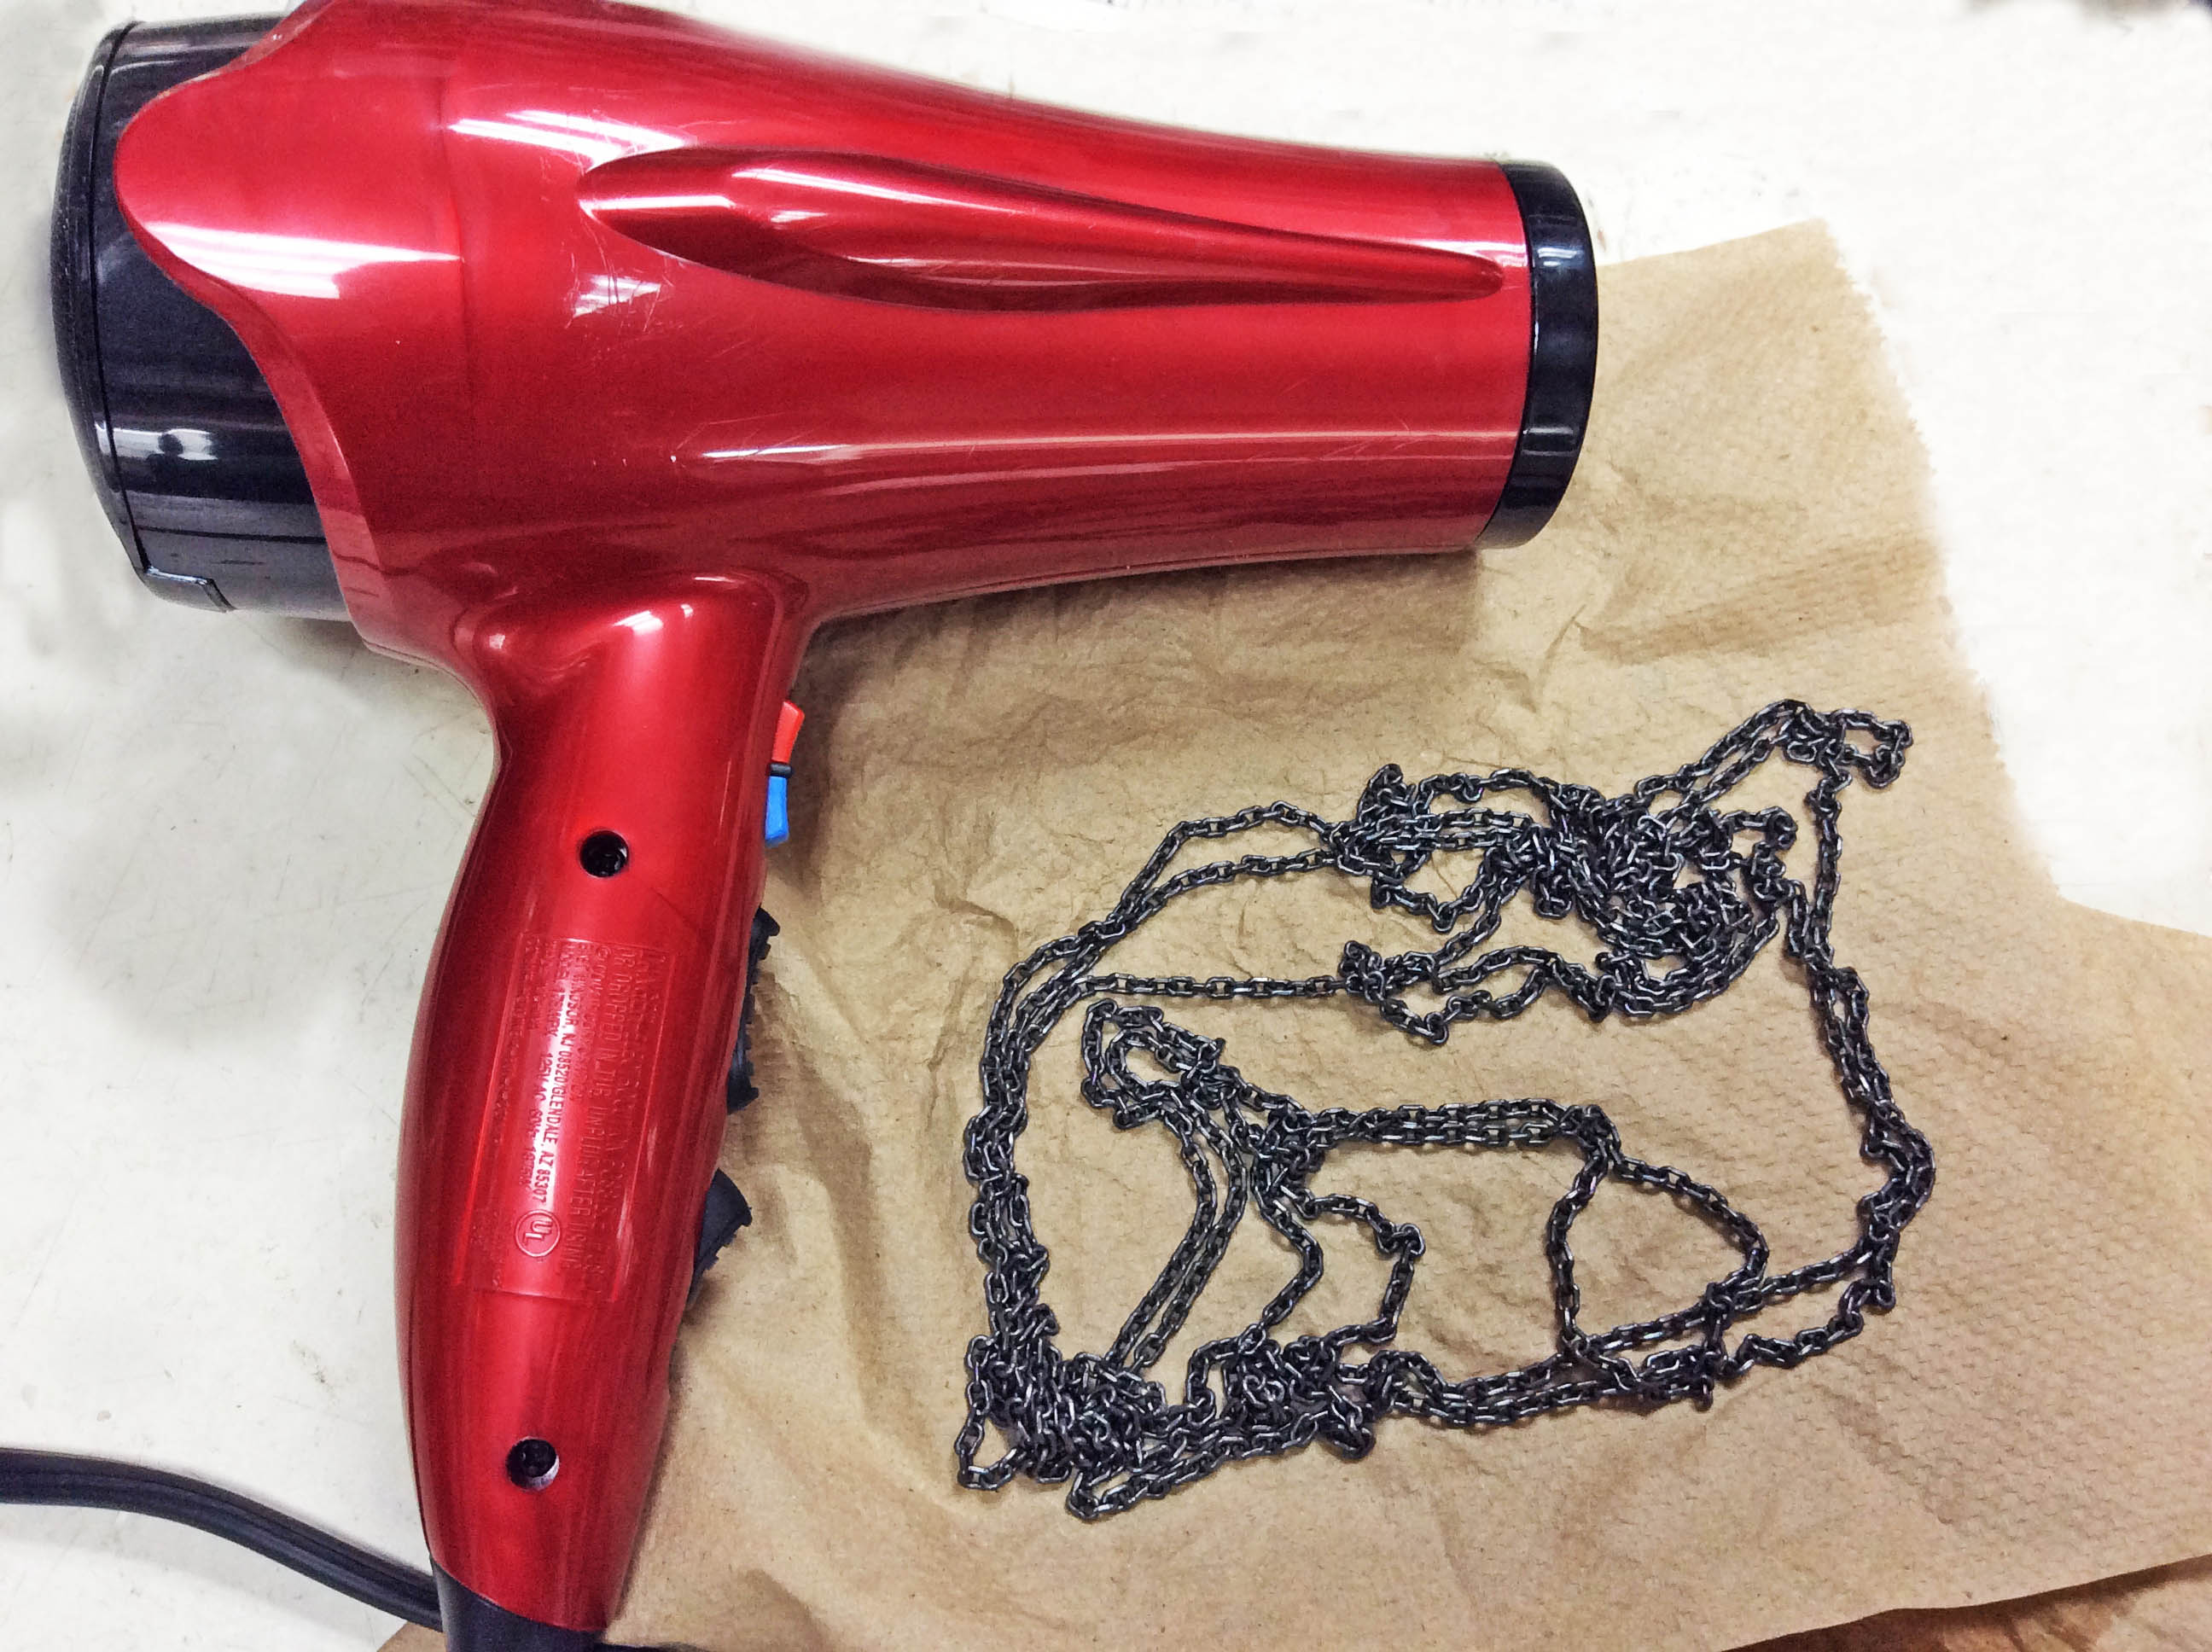
Tip #7: Hair Dryer
Another way to get rid of residual moisture is with a hair dryer. Some pieces, especially small silver beads, can trap water. Water isn’t normally a problem for jewelry making, but there may be enough traces of acid left in the moisture that can discolor or weaken thread. To remove the excess moisture, place a paper towel into a container, put your oxidized silver pieces on top, and gently blow dry. The paper towel will catch most of the water, and the rest will evaporate away.
To Sum Things Up…
This tutorial went over 7 easy ways to help you get the perfect Sterling Silver Oxidization job done on your own using common household items. Hopefully it also gives you an important lesson that you don’t always need fancy jeweler tools to save you time, money and hassle! Jewelry making is about being creative with problem solving as much as it is about being creative with your designs. Use these tips and look for your own time savers around the house that are waiting to be used in your jewelry making!
-Cyrus Nemani, Gempacked